Enabling Windows Photo Viewer on Windows Server OS
In the realm of Windows Server 2016 and 2019 operating systems, many of the features and functionalities are streamlined for security and efficiency, with non-essential features often disabled or hidden by default. One such feature is the nostalgic Windows Photo Viewer. Many IT professionals and administrators are fond of this tool due to its simplicity and responsiveness. If you’re one of them and you’re looking to enable Windows Photo Viewer on a Windows Server OS, this article will guide you through the steps. By default, browsing through folders, you don’t see thumbnails (for a faster image view). Moreover, JPG, TIF, BMP, PNG images are opened in Microsoft Paint – which is useless.
Introduction:
Windows Photo Viewer was the default image viewer for Windows 7 and earlier versions. However, with the advent of Windows 10 and subsequent server versions, Microsoft introduced the Photos app, relegating Windows Photo Viewer to the background. While the Photos app offers a modern UI and additional functionalities, the simplicity and reliability of the Windows Photo Viewer still appeal to many.
Prerequisites:
Before diving into the steps, ensure you have:
- Administrative rights on the Windows Server.
- A backup or system restore point. This is always a good practice when making changes to the system registry. Actions from this article was successfully tested on Windows Server 2016 and Windows Server 2019 editions without any issues.
Enabling Windows Photo Viewer:
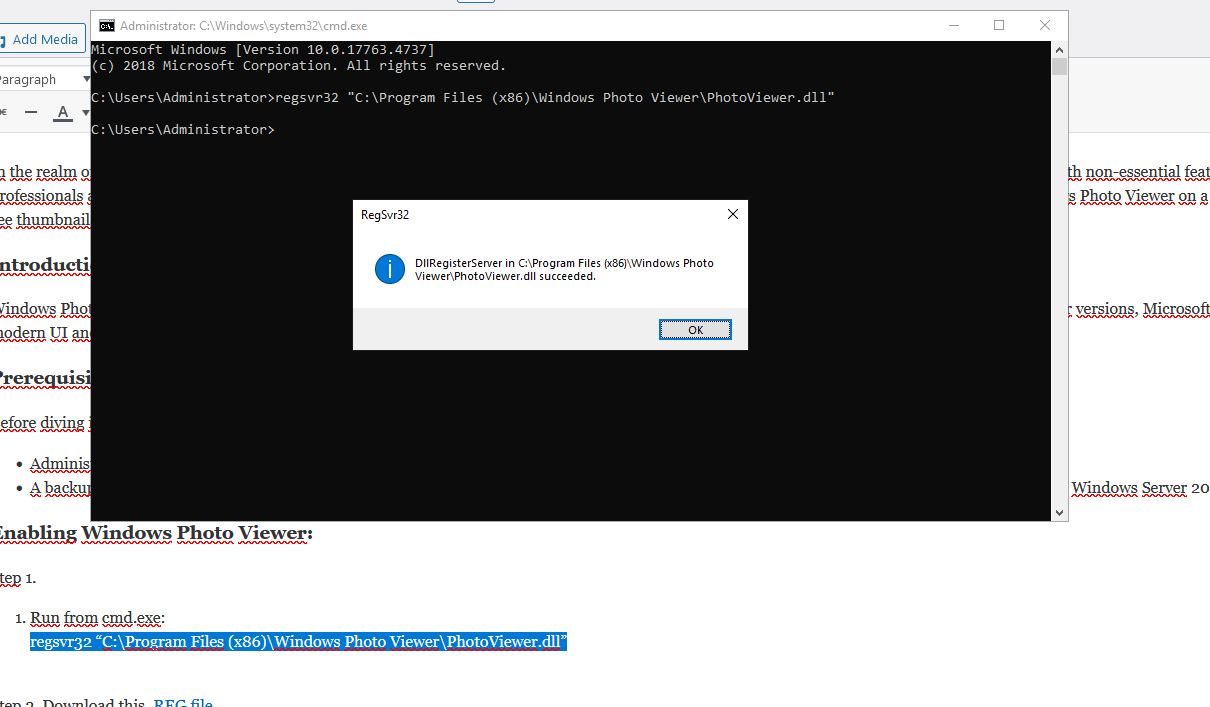
Step 1. Run from cmd.exe:
regsvr32 “C:\Program Files (x86)\Windows Photo Viewer\PhotoViewer.dll”
Step 2. Download this .REG file.
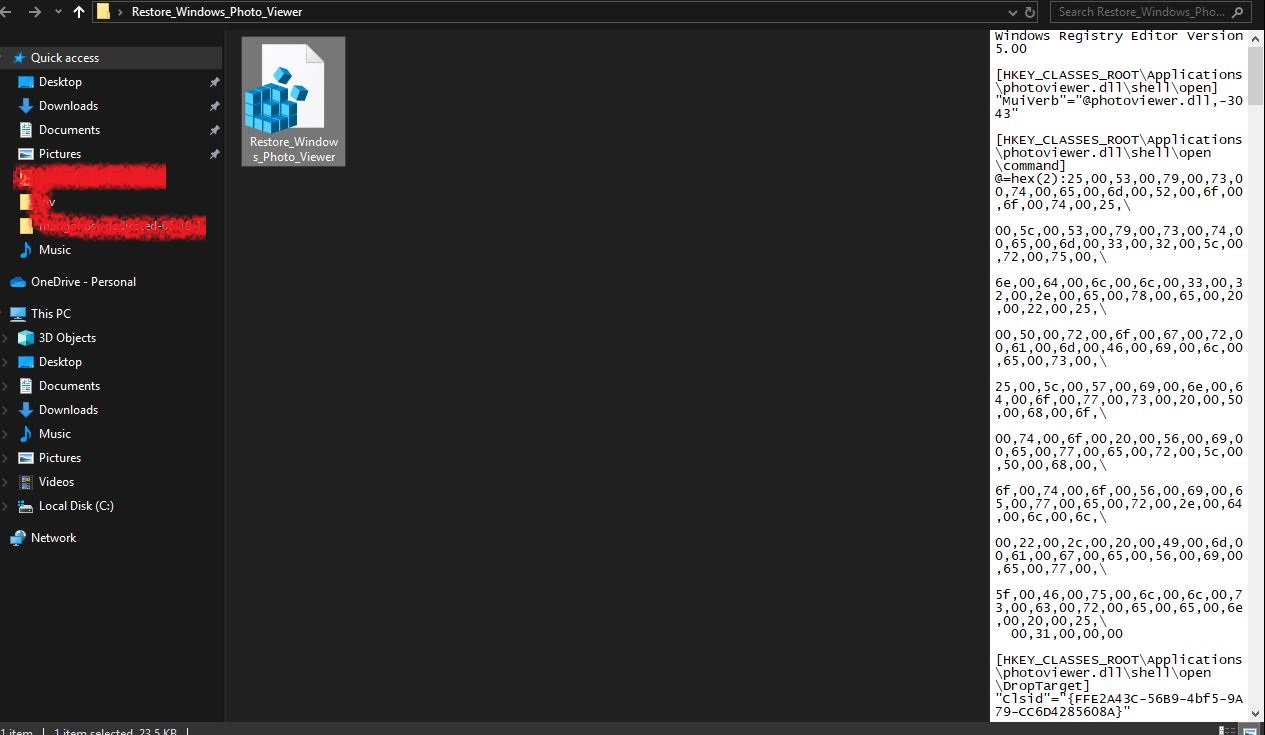
Step 3. Double click “Restore_Windows_Photo_Viewer.reg” and accept any User Account Control prompts ( if you are not logged as Administrator). Confirm you wish to import the settings
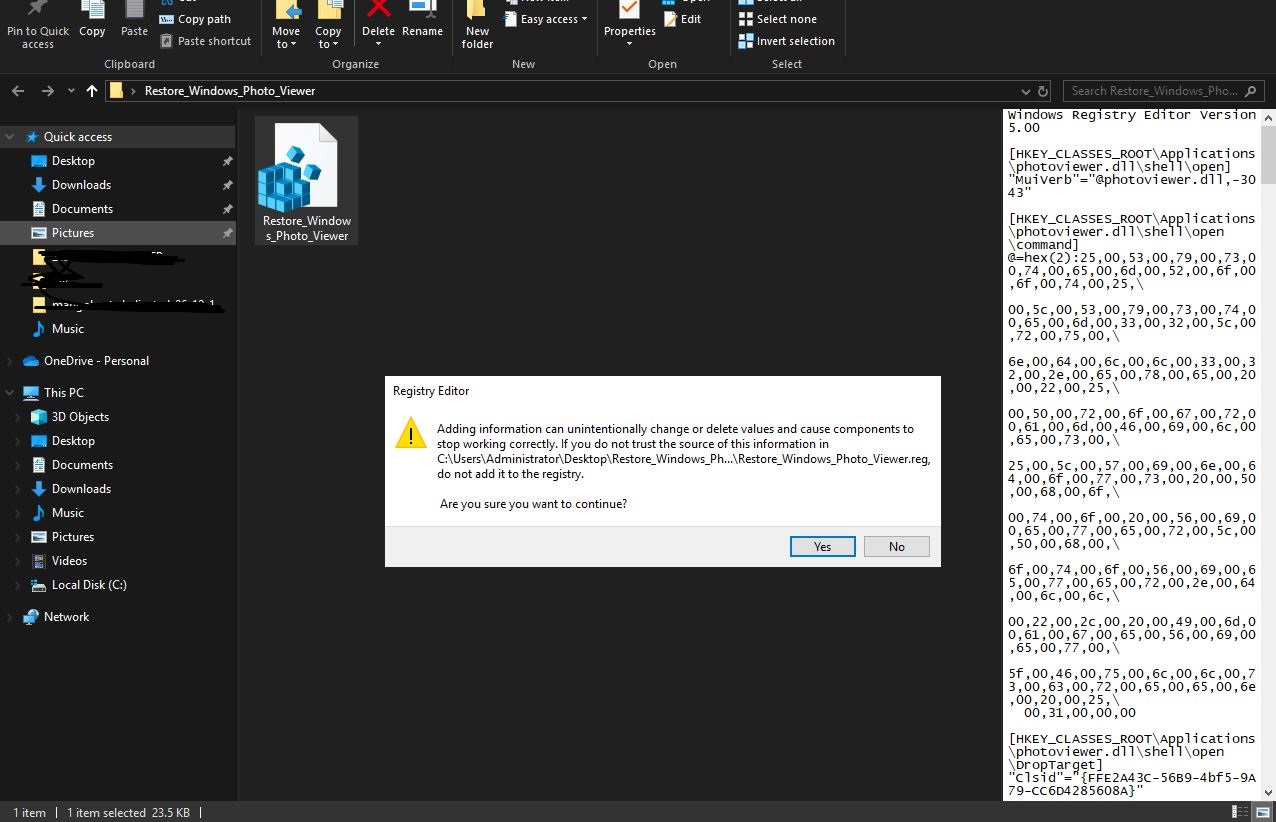
Caution: Editing the Windows Registry can be risky. Always backup your registry settings before making any changes.

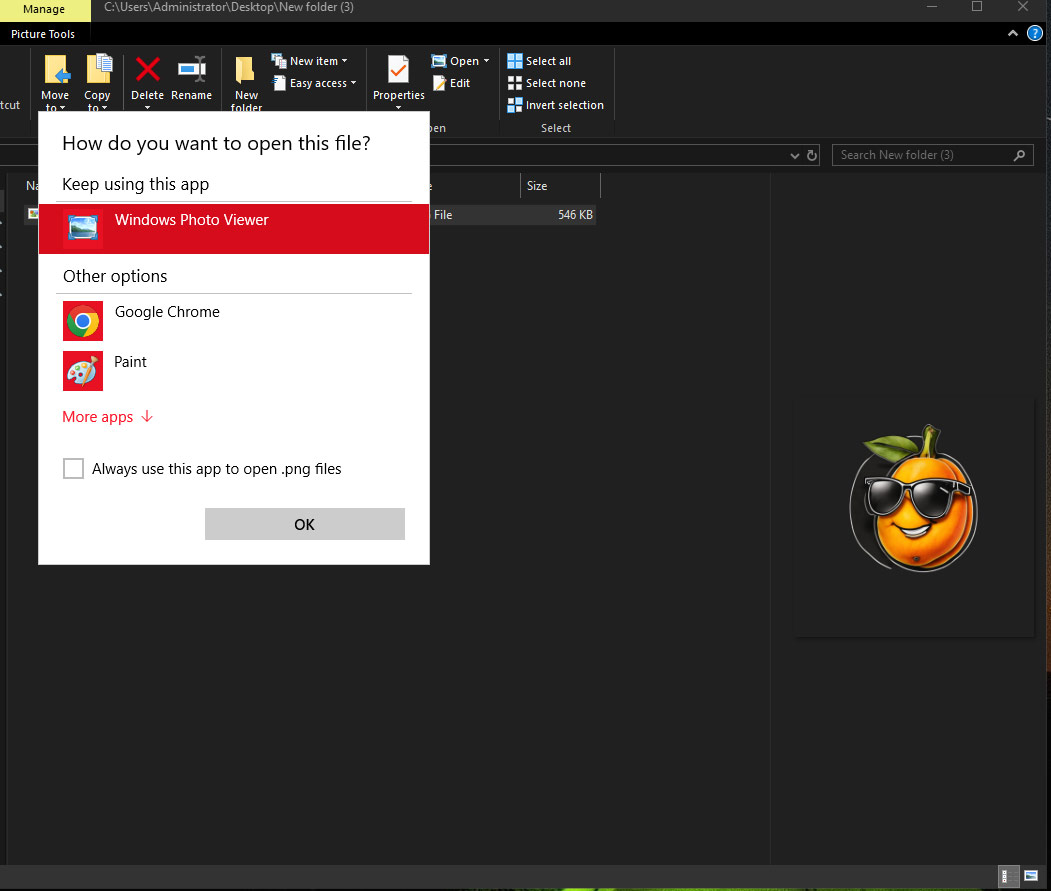
Now when you double click a picture type for the first time; you will be asked which application you want to open it with in the future by default (double-click). Select “Windows Photo Viewer” and check the “Always use this app to open … files” box:
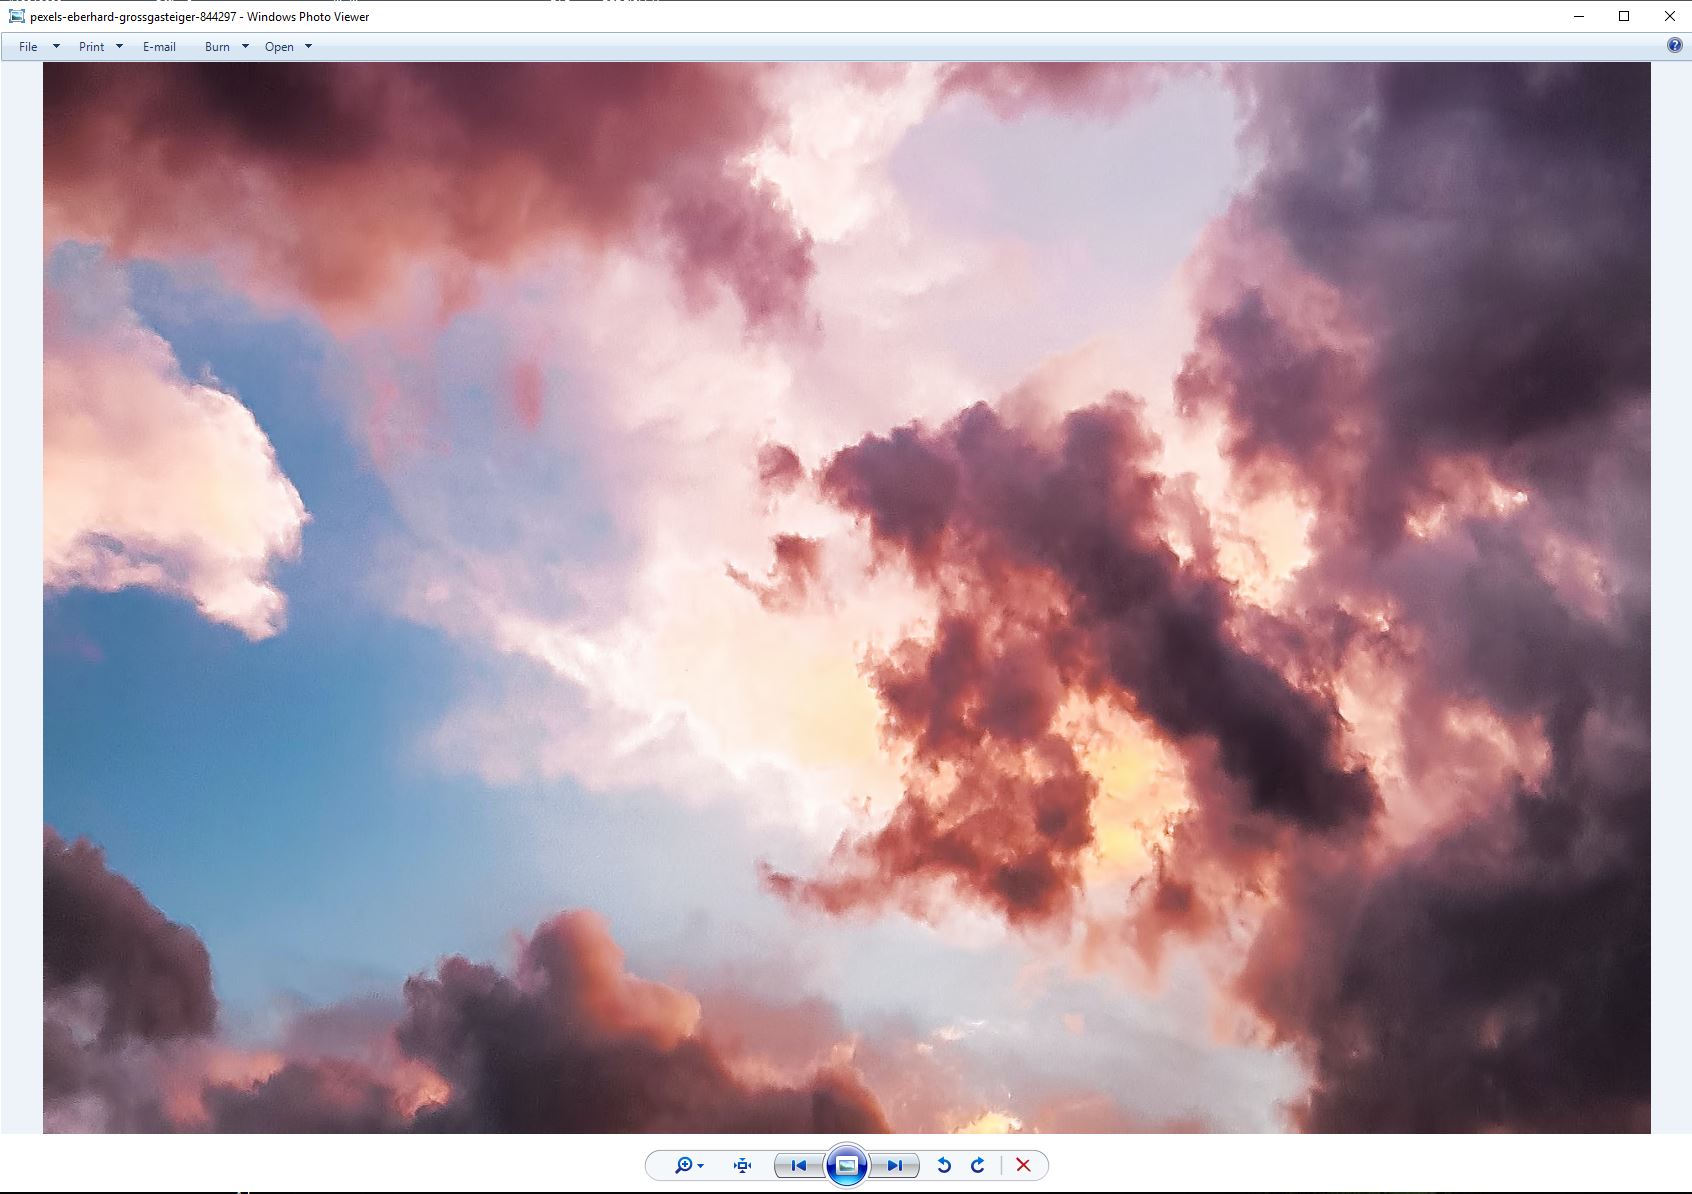
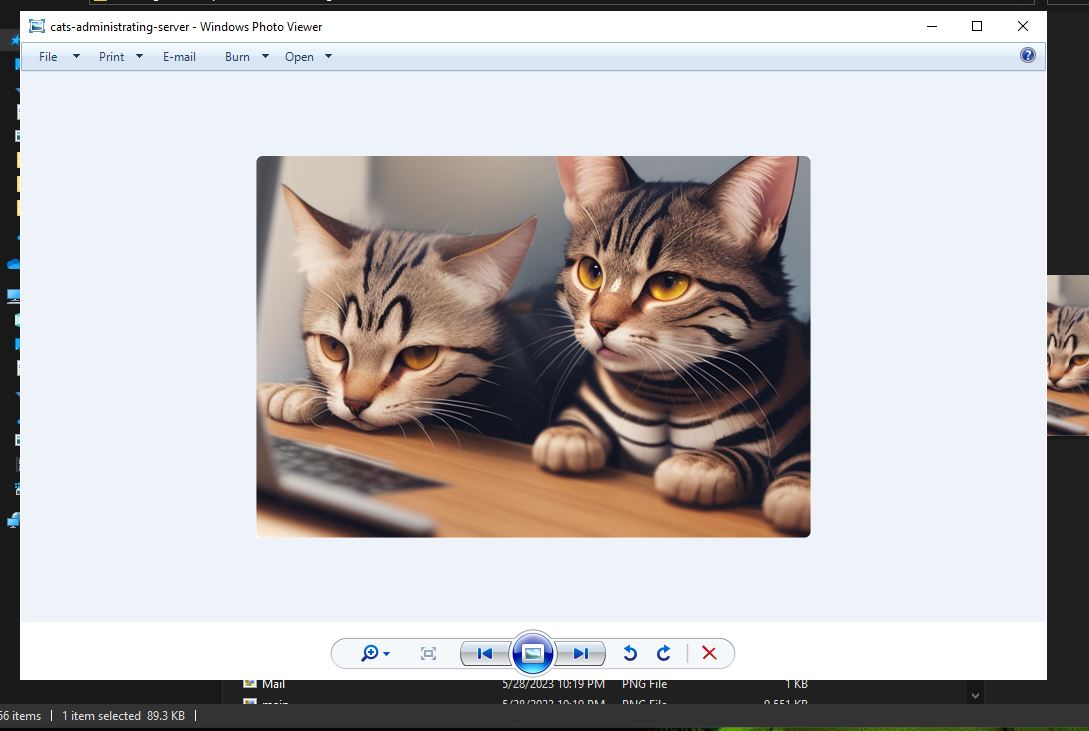
Step 4 (final). And we have it, a very grainy photo of some AI-generated cats opened in Windows Photo Viewer:
By following the above steps, you should now have successfully enabled and set the Windows Photo Viewer as the default viewer for your desired image file types on your Windows Server OS. This can be a boon for those who miss the older, more straightforward tool or for those who find it better suited to their needs on a server environment. Regardless of your reasons, enjoy the seamless experience of viewing images with the classic viewer!

This article incorporates information and material from various online sources. We acknowledge and appreciate the work of all original authors, publishers, and websites. While every effort has been made to appropriately credit the source material, any unintentional oversight or omission does not constitute a copyright infringement. All trademarks, logos, and images mentioned are the property of their respective owners. If you believe that any content used in this article infringes upon your copyright, please contact us immediately for review and prompt action.
This article is intended for informational and educational purposes only and does not infringe on the rights of the copyright owners. If any copyrighted material has been used without proper credit or in violation of copyright laws, it is unintentional and we will rectify it promptly upon notification. Please note that the republishing, redistribution, or reproduction of part or all of the contents in any form is prohibited without express written permission from the author and website owner. For permissions or further inquiries, please contact us.
More stories