

Are you ready to unleash the full potential of Windows? In this ultimate guide, we will explore various aspects of renting a dedicated server, including how to use Remote Desktop (RDP), the Windows Server licensing system, Hyper-V virtualization, and the differences between PowerShell and Linux command line. We will also delve into topics such as resetting licenses, auto-shutdown issues, hosting services, installing LAMP on Windows Server, and comparing Windows and Linux performance on the same hardware. Get ready to harness the power of Windows like never before!
Table of Contents
- How to Use Remote Desktop (RDP) on a Windows Dedicated Server
- Understanding the Windows Server Licensing System
- Hyper-V Virtualization in Windows Server
- Linux KVM vs Windows Hyper-V: A Comparative Analysis
- Differences Between PowerShell and Linux Command Line
- How to Reset License on Windows Dedicated Server
- Windows Server: Troubleshooting Auto-Shutdown Issue Every Hour
- Benefits of Windows Server Remote Desktop Over Gnome or KDE
- Hosting Services on a Windows Server: A Comprehensive Guide
- How to Install LAMP on Windows Server
- Differences Between Home, Pro, Enterprise, and Server Windows Versions
- Windows vs Linux Performance on Same Hardware:
How to Use Remote Desktop (RDP) on a Windows Dedicated Server
Remote Desktop Protocol (RDP) allows you to connect to your Windows Dedicated Server from any location, providing a convenient way to manage your server remotely. Here’s a step-by-step guide on how to use RDP:
1. Ensure RDP is enabled: Log in to your Windows Dedicated Server and open the Server Manager. Navigate to the “Local Server” tab and click on “Remote Desktop.” Make sure the “Allow remote connections to this computer” option is enabled.
2. Configure firewall settings: If you have a firewall enabled, ensure that it allows incoming RDP connections on port 3389.
3. Obtain the server’s IP address: Note down the IP address of your Windows Dedicated Server. You can find it in the server management panel or by using the Get-NetIPAddress command in Windows PowerShell.
4. Connect via RDP: On your local machine, open the Remote Desktop Connection application. Enter the server’s IP address and click “Connect.” If prompted, enter your server’s username and password.
5. Customize RDP settings: You can adjust various RDP settings, such as display resolution, local resource sharing, and more. Click on “Show Options” to access these options.
6. Secure your connection: To enhance security, consider using a VPN when connecting to your server via RDP.
Using RDP, you can efficiently manage your Windows Dedicated Server, install software, configure settings, and perform various administrative tasks remotely. Remember to log out or disconnect from RDP sessions when you’re done to ensure the security of your server.
Understanding the Windows Server Licensing System
Windows Server is a powerful operating system designed for managing and running server applications. To use Windows Server, it is essential to understand its licensing system, which ensures compliance and enables access to its features.

Windows Server 🖥️ offers two main licensing 🔑 models: per core and per user/device. The per core model requires licensing each physical or virtual core on the server, while the per user/device model requires licensing each user or device accessing the server.
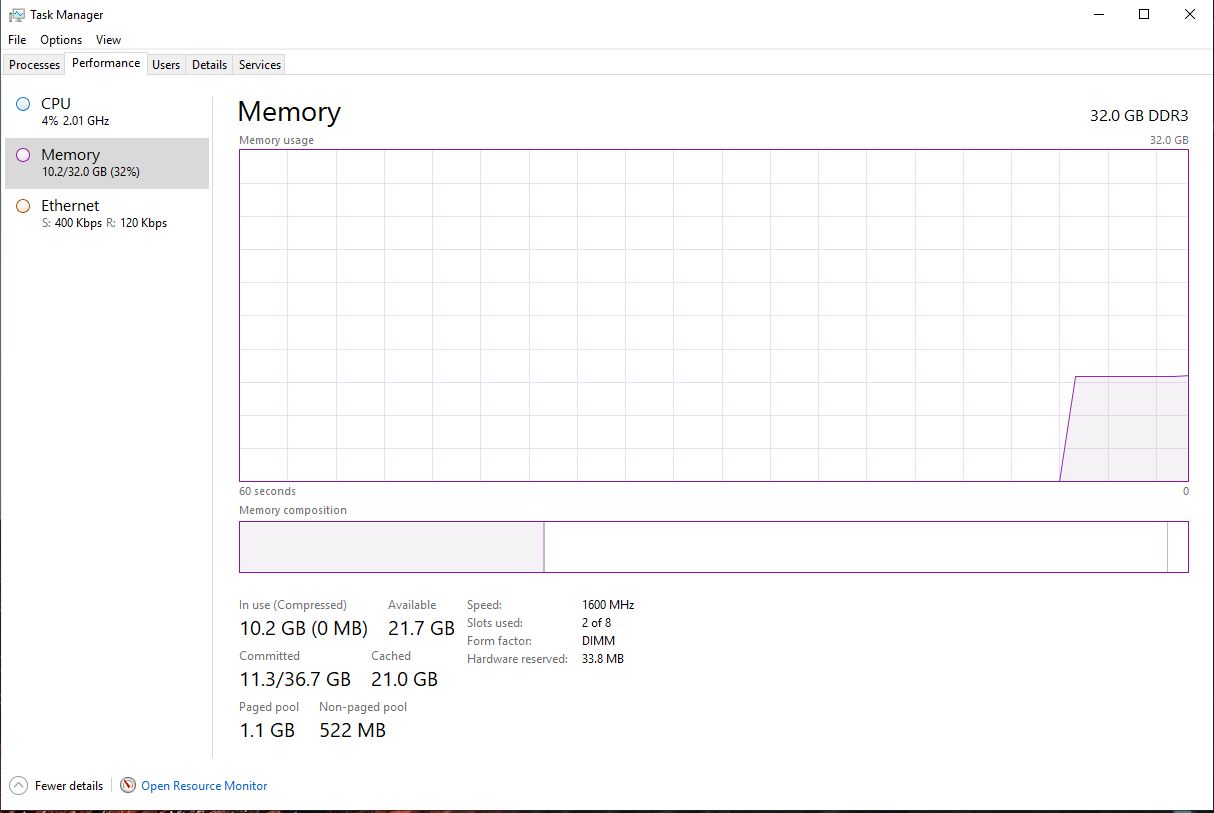
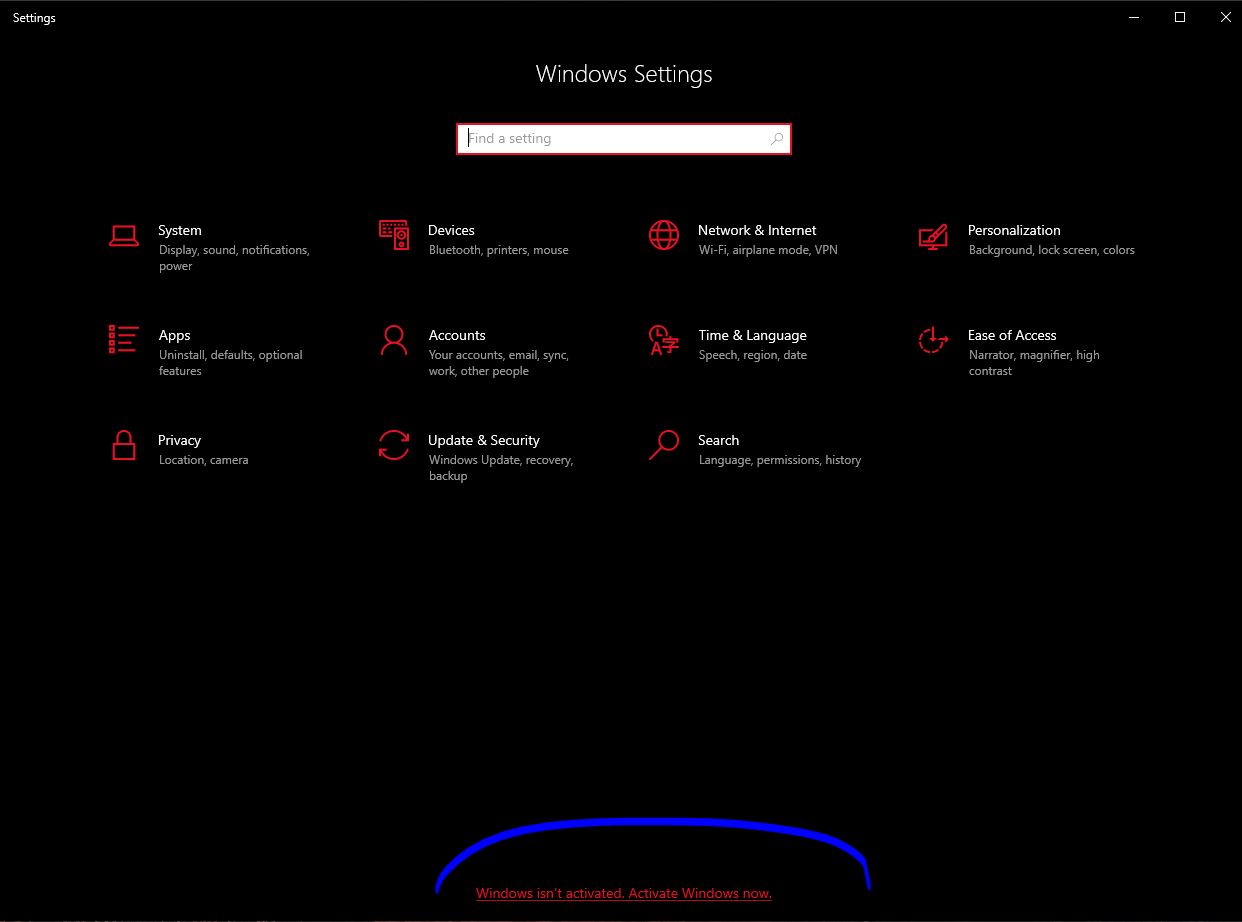
To determine the number of required licenses, you can use Get-WindowsLicense PowerShell command, which provides detailed information about the licensing status of the server. Additionally, Get-WindowsActivation command helps verify the activation status of the server.
Windows Server also offers different editions, such as Standard, Datacenter, and Essentials, each with varying features and licensing requirements. It is crucial to choose the appropriate edition based on your organization’s needs and budget.
To manage licenses effectively, you can utilize slmgr.vbs command-line tool, which allows you to install, activate, and manage licenses on the server. This tool provides flexibility in managing license keys, activation, and renewal.
Hyper-V Virtualization in Windows Server
Hyper-V is a native hypervisor virtualization platform developed by Microsoft for Windows Server. It allows users to create and manage virtual machines (VMs) on a single physical server, enabling efficient utilization of hardware resources and providing a flexible and scalable solution for running multiple operating systems simultaneously.
With Hyper-V, administrators can consolidate workloads, isolate applications, and improve disaster recovery capabilities. It offers features like live migration, which allows VMs to be moved between physical servers without downtime, and failover clustering, which ensures high availability of VMs in case of hardware or software failures.
To manage Hyper-V, Windows Server provides a powerful command-line interface called Windows PowerShell. Here are a few examples of Windows PowerShell commands for Hyper-V management:
Get-VM: Retrieves information about all the VMs on a Hyper-V host.
New-VM: Creates a new VM with specified configuration settings.
Start-VM: Powers on a VM.
Stop-VM: Shuts down a running VM.
Move-VM: Transfers a VM to a different Hyper-V host.
Set-VMProcessor: Modifies the processor configuration of a VM.
Hyper-V virtualization in Windows Server provides a robust and cost-effective solution for organizations to optimize their IT infrastructure. It empowers businesses to efficiently manage their workloads, enhance resource utilization, and improve overall system performance while reducing hardware and maintenance costs. 🖥️🔒🚀
Linux KVM vs Windows Hyper-V: A Comparative Analysis
Linux KVM and Windows Hyper-V are two popular virtualization technologies that offer powerful solutions for running multiple operating systems on a single physical server. Let’s compare these platforms to understand their strengths and differences.
Performance and Scalability: Linux KVM, being a part of the Linux kernel, provides excellent performance and scalability. It leverages hardware virtualization extensions, such as Intel VT-x and AMD-V, to achieve near-native performance. On the other hand, Windows Hyper-V also delivers solid performance but may have a slight overhead due to its Windows-based architecture.
Management and Integration: Linux KVM offers a command-line interface (CLI) and various management tools like virt-manager and oVirt. It integrates well with Linux-based systems and can be easily automated using scripting languages like Python. Windows Hyper-V, on the other hand, provides a user-friendly GUI and integrates seamlessly with other Windows Server components. It can be managed using tools like Hyper-V Manager and PowerShell.
Availability and Support: Linux KVM is an open-source solution, widely adopted by the Linux community. It benefits from continuous development and support from the community. Windows Hyper-V, being a proprietary technology, is backed by Microsoft’s extensive support and has a large user base.
Example Windows PowerShell command:
To create a new virtual machine in Hyper-V, you can use the following PowerShell command:
New-VM -Name "MyVM" -MemoryStartupBytes 2GB -NewVHDPath "C:\VMs\MyVM.vhdx" -NewVHDSizeBytes 50GB
In conclusion, both Linux KVM and Windows Hyper-V offer robust virtualization solutions, but the choice depends on specific requirements, familiarity with the platform, and integration needs.
Differences Between PowerShell and Linux Command Line

PowerShell and the Linux command line are both powerful tools for managing and automating tasks in their respective operating systems. However, there are several key differences between the two.
Firstly, the syntax and structure of the two command lines differ significantly. PowerShell uses a verb-noun format, making it more intuitive and easier to remember commands. On the other hand, Linux commands are typically shorter and more cryptic, requiring users to memorize a wide range of commands and options.
Secondly, PowerShell is primarily designed for managing Windows systems, while the Linux command line is specific to Linux-based operating systems. This means that PowerShell has built-in support for managing Windows-specific tasks and features, such as Active Directory, while the Linux command line is optimized for Linux-specific tasks.
Additionally, PowerShell has a more extensive set of built-in commands and modules, allowing for greater flexibility and functionality. Linux, on the other hand, relies heavily on the use of external utilities and tools to accomplish certain tasks.
Here are a few examples of Windows PowerShell commands:
Get-Process – retrieves a list of running processes.
Get-Service – displays the status of services on the system.
New-Item – creates a new file or directory.
Similar commands on 🐧Linux dedicated server:
- Retrieving a list of running processes:
- Command:
ps - Example:
ps auxprovides a detailed list of all running processes.
- Command:
- Displaying the status of services on the system:
- Command:
systemctlorservice - Example:
systemctl statuslists the status of all units.service --status-allcan be used on systems wheresystemctlis not available.
- Command:
- Creating a new file or directory:
- To create a new file: Command:
touch- Example:
touch filename.txtcreates a new file namedfilename.txt.
- Example:
- To create a new directory: Command:
mkdir- Example:
mkdir directorynamecreates a new directory nameddirectoryname.
- Example:
- To create a new file: Command:
In conclusion, while both PowerShell and the Linux command line are powerful tools, they have distinct differences in terms of syntax, platform compatibility, and functionality. Understanding these differences is crucial for effectively managing and automating tasks in their respective environments.
How to Reset License on Windows Dedicated Server
If you need to reset the license on your Windows Dedicated Server, you can follow these steps to ensure a smooth process:
1. Open an elevated command prompt (cmd.exe) or PowerShell session by right-clicking on the Start menu and selecting “Command Prompt (Admin)” or “Windows PowerShell (Admin).”
2. Check the current license status by running the following command in the command prompt or PowerShell window:
slmgr.vbs /dlv
This will display detailed information about the current license, including the activation status and expiration date.
3. Uninstall the current license key by executing the following command:
slmgr.vbs /upk
This will remove the current license key from the system.
4. Install a new license key by running the following command:
slmgr.vbs /ipk XXXXX-XXXXX-XXXXX-XXXXX-XXXXX
Replace “XXXXX-XXXXX-XXXXX-XXXXX-XXXXX” with your new license key. This command will install the new license key on your server.
5. Activate the new license key by executing the following command:
slmgr.vbs /ato
👍 This command will activate the new license key and update the license status.
6. Verify the license status by running the command from step 2 again. It should now reflect the changes made.
By following these steps, you can easily reset the license on your Windows Dedicated Server and ensure proper activation. Remember to replace the placeholder license key with your actual key for successful execution.
Trial License Reset on Windows Server
Resetting the trial period of Windows Server, commonly known as rearming, is a process used to extend the evaluation period of the operating system. This can be useful if you need more time to test the server before making a decision to purchase a license. However, it’s important to note that this is meant for evaluation purposes only and should not be used to indefinitely extend the usage of an unlicensed copy of Windows Server.
Here’s how you can reset (rearm) the trial period of Windows Server:
Open Command Prompt as Administrator:
1. Click on the Start menu.
2. Type cmd, right-click on the Command Prompt, and select “Run as administrator”.
3. Run the Rearm Command:
In the Command Prompt, type the following command and press Enter:
slmgr.vbs -rearm
👍 This command resets the activation status and extends the trial period.
Restart the Server:
After running the command, you need to restart 🚀 the server for the changes to take effect.
You can restart by typing shutdown /r /t 0 in the Command Prompt.
Check the Activation Status (Optional):
After restarting, you can check the remaining days of the trial period by opening the Command Prompt and typing:
slmgr.vbs -dli
Please keep in mind the following:
The rearm command can only be used a limited number of times (typically 3).
This process is intended for testing and evaluation purposes in a non-production environment.
Using the server beyond the initial trial period without purchasing a license is against Microsoft’s terms of service.
If you plan to use Windows Server for an extended period or in a production environment, it is recommended to purchase a valid license.
Windows Server: Troubleshooting Auto-Shutdown Issue Every Hour
Benefits of Windows Server Remote Desktop Over Gnome or KDE
Windows Server Remote Desktop offers several advantages over Gnome or KDE desktop environments, making it a preferred choice for many users. Here are some key benefits:
1. Seamless Integration: Windows Server Remote Desktop provides seamless integration with the Windows ecosystem, allowing users to access their Windows applications and files remotely. This ensures a consistent and familiar user experience, enhancing productivity.
2. Enhanced Security: Windows Server Remote Desktop offers robust security features, including encryption and multi-factor authentication, to protect sensitive data during remote access. It also allows administrators to enforce strict access controls, ensuring only authorized users can connect.
3. Centralized Management: With Windows Server Remote Desktop, administrators can centrally manage user access, permissions, and configurations. This simplifies administration tasks and ensures consistent settings across multiple remote sessions.
4. Resource Efficiency: Windows Server Remote Desktop optimizes resource usage, allowing multiple users to share a single server while maintaining performance. This reduces hardware costs and improves scalability.
5. PowerShell Integration: Windows PowerShell, a powerful scripting language, seamlessly integrates with Windows Server Remote Desktop. Administrators can automate various tasks, such as user management and session configuration, using PowerShell commands (Set-RDSessionCollectionConfiguration, Add-RDServer, etc.).
In conclusion, Windows Server Remote Desktop offers a secure, efficient, and integrated solution for remote access. Its seamless integration with the Windows ecosystem, enhanced security features, centralized management capabilities, resource efficiency, and PowerShell integration make it a preferred choice for organizations and individuals seeking a reliable remote desktop solution.
Hosting Services on a Windows Server: A Comprehensive Guide
Windows Server offers a robust platform for hosting various services, allowing businesses to efficiently manage their online presence. Whether you need to host a website, run an application, or manage databases, Windows Server provides a comprehensive solution.
To start hosting services, you can utilize the powerful Internet Information Services (IIS) feature. This web server allows you to host websites, configure virtual directories, and manage application pools. With IIS, you can easily deploy and manage your web applications.
For running applications, Windows PowerShell comes in handy. This command-line shell and scripting language enables you to automate tasks and manage services efficiently. For example, you can use the New-Website cmdlet to create a new website in IIS or the New-AppPool cmdlet to create a new application pool.
Windows Server also supports hosting databases using Microsoft SQL Server. This powerful relational database management system allows you to store and retrieve data efficiently. You can use Windows PowerShell to automate database-related tasks, such as creating a new database using the New-DbaDatabase cmdlet.
In conclusion, hosting services on a Windows Server provides a reliable and scalable solution for businesses. With features like IIS, Windows PowerShell, and SQL Server, you can easily deploy, manage, and automate various services. So, leverage the power of Windows Server to enhance your online presence and streamline your operations. ✨
How to Install LAMP on Windows Server
Installing a LAMP (Linux, Apache, MySQL, PHP) stack on a Windows Server can be achieved using a few simple steps. Here’s a guide to help you get started:
1. Install a Linux Subsystem: Begin by enabling the Windows Subsystem for Linux (WSL) feature on your Windows Server. Open PowerShell as an administrator and run the following command:
wsl --install
2. Install Apache: Once the Linux subsystem is installed, open the Microsoft Store and search for a Linux distribution such as Ubuntu. Install it and launch the distribution. Then, run the following commands to install Apache:
sudo apt update
sudo apt install apache2
3. Install MySQL: After Apache is installed, you can proceed with MySQL installation. Run the following commands:
sudo apt install mysql-server
sudo mysql_secure_installation
4. Install PHP: Finally, install PHP by running the following command:
sudo apt install php libapache2-mod-php
5. Configure Apache: To enable PHP support, edit the Apache configuration file by running:
sudo nano /etc/apache2/mods-enabled/dir.conf
Move index.php before index.html and save the file.
6. Restart Apache: Restart Apache to apply the changes:
sudo service apache2 restart
Congratulations! You have successfully installed LAMP on your Windows Server. You can now start developing and hosting web applications using this powerful stack. 🚀
Differences Between Home, Pro, Enterprise, and Server Windows Versions
Windows Home: This version is designed for personal use and is suitable for most home users. It includes essential features such as the Start Menu, Microsoft Edge browser, and Cortana virtual assistant. However, it lacks advanced features like BitLocker encryption and Remote Desktop.
Windows Pro: Pro 💪 is aimed at small businesses and power users. It includes all the features of Home, plus additional functionalities like BitLocker encryption, Remote Desktop, and Group Policy Management. Pro also allows joining a domain, which is essential for network management.
Windows Enterprise: Enterprise is designed for large organizations and offers advanced security and management features. It includes all the features of Pro, along with additional tools like Windows To Go, DirectAccess, and AppLocker. Enterprise also provides Long Term Servicing Channel (LTSC) updates, which are ideal for mission-critical systems.
Windows Server: This version is specifically designed for server environments. It provides features like 🔒 Active Directory, Hyper-V virtualization, and Remote Desktop Services. Windows Server is available in different editions, such as Standard, Datacenter, and Essentials, each with varying capabilities and licensing options.
Windows vs Linux Performance on Same Hardware
In a performance comparison test conducted by InterWorks, it was found that Linux was generally faster than Windows on the same hardware. This test measured the operating system’s ability to read and write data to/from the disk, among other parameters. However, it’s important to note that while these results suggest Linux can be more efficient in certain scenarios, the actual performance difference in real-world usage can vary depending on specific tasks and configurations.
Conclusion
In conclusion, renting a Windows dedicated server can be a game-changer for businesses seeking enhanced performance, security, and scalability. With Windows as the operating system, the possibilities are endless. Whether you are a small startup or a large enterprise, the power of Windows can be harnessed to meet your unique needs. From improved website loading speeds to seamless data management, a dedicated server offers the ultimate solution. So, unleash the power of Windows and take your business to new heights with a dedicated server. 💪🔒🚀

This article incorporates information and material from various online sources. We acknowledge and appreciate the work of all original authors, publishers, and websites. While every effort has been made to appropriately credit the source material, any unintentional oversight or omission does not constitute a copyright infringement. All trademarks, logos, and images mentioned are the property of their respective owners. If you believe that any content used in this article infringes upon your copyright, please contact us immediately for review and prompt action.
This article is intended for informational and educational purposes only and does not infringe on the rights of the copyright owners. If any copyrighted material has been used without proper credit or in violation of copyright laws, it is unintentional and we will rectify it promptly upon notification. Please note that the republishing, redistribution, or reproduction of part or all of the contents in any form is prohibited without express written permission from the author and website owner. For permissions or further inquiries, please contact us.
More stories


User comments
i am running winrar benchmarks, and the results almost are the same for linux and windows. so, i think that it is the depends on the developer – how good his software is optimized…